
Making Your Own Texture Plates with Polymer Clay: A Guide for Curious Creators
In a world filled with mass-produced patterns, there's something deeply satisfying about stamping your own creative fingerprint - literally - on your work. Whether you use earthenware, polymer or silver clay, making your own texture plates with polymer clay is a game-changer. Texture plates are fantastic tools for adding intricate surfaces to your creations, and the best part? You can design them to reflect your unique aesthetic. Think shell motifs from local beaches, van Gogh inspired spirals, or architectural flourishes… the possibilities are endless.
What You’ll Need
- Polymer clay (any colour - this is a great way to use up your scrap clay or muddy colours)
- Acrylic roller and spacer bars (see blog post ‘My Top 10 Tools for starting with Polymer Clay’)
- Sculpting tools (ball stylus, needle tool, silicone shapers, lino cutter)
- Texturizing materials (twigs, lace, fabric, shells, buttons, wire, broken jewellery)
- A smooth tile, small glass sheet or baking surface
- Optional: a release agent like cornflour or water spray
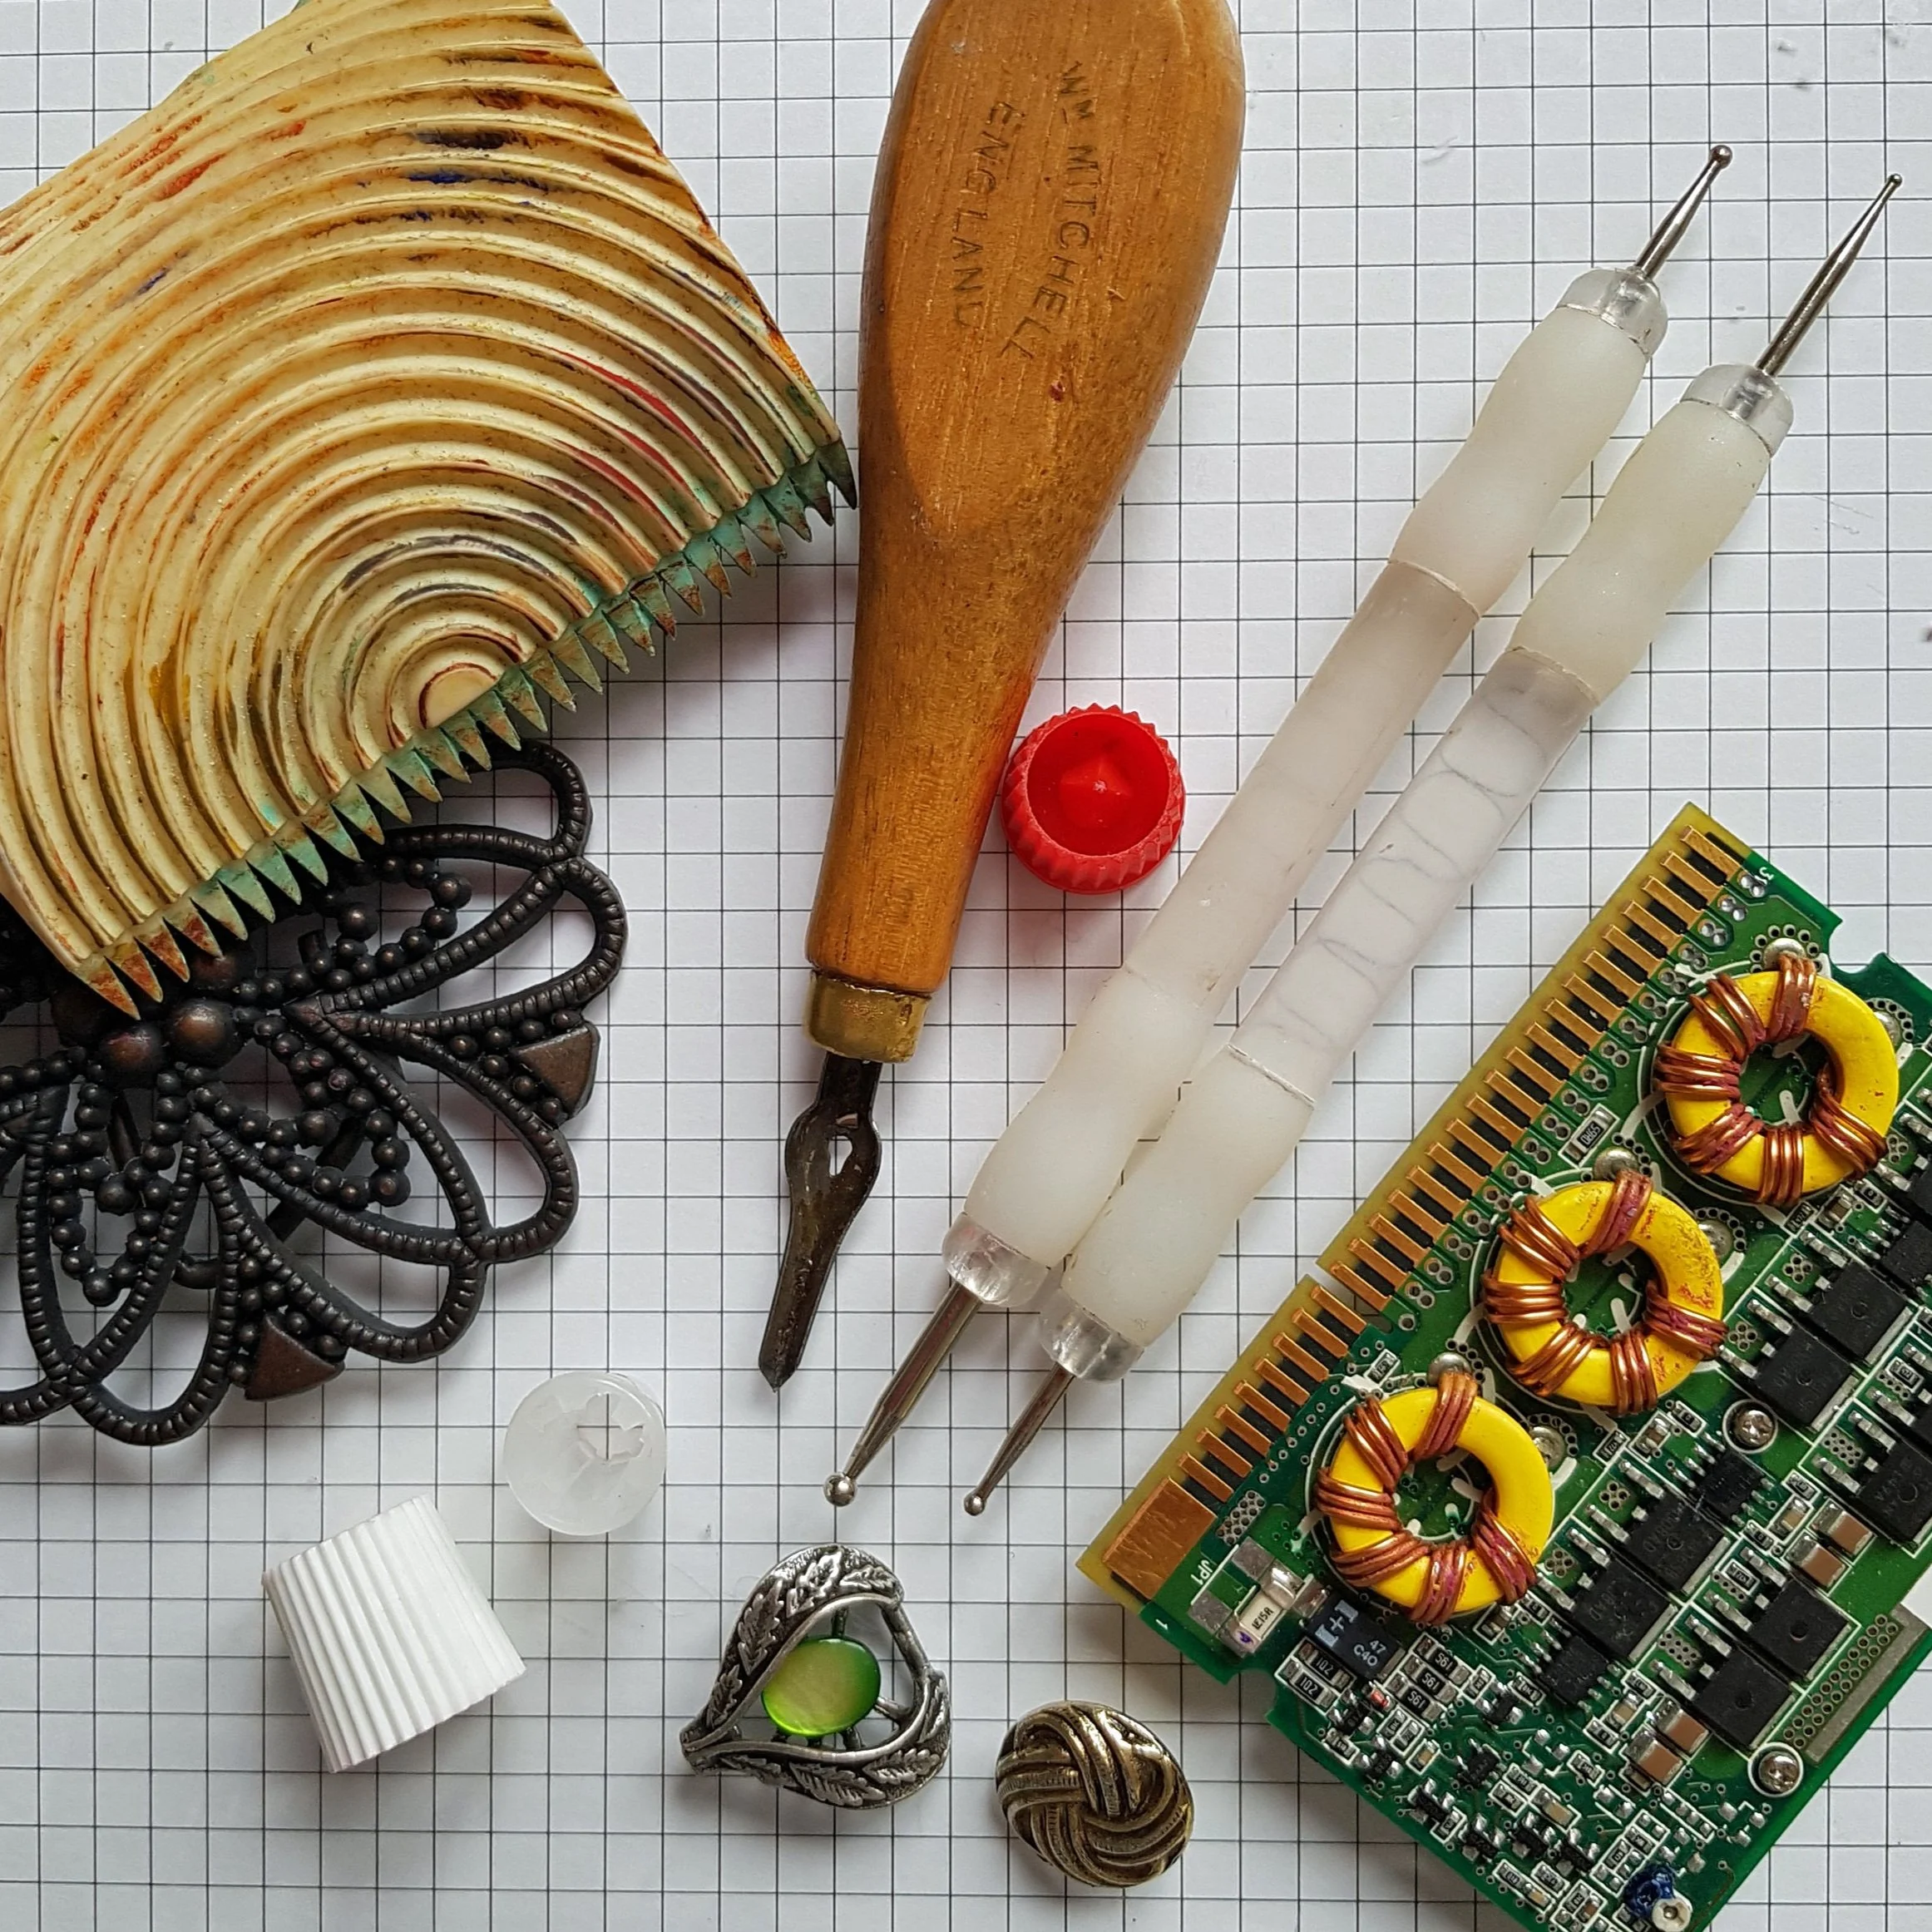
Tools: assorted items found around the house for making marks and textures in polymer clay.
The Process
Condition the Clay
Start by conditioning your polymer clay until it’s soft and pliable. This is important as it will give strength to your final plates. Roll it out to an even thickness on a ceramic tile. A depth of about 5mm is thick enough for a sturdy plate, though you can go thinner if you want it to be flexible for running through a pasta machine.
Design the Texture
Imprint your chosen tools into the clay. You may need to dust the clay with cornflour or spritz with water first to stop the tools from sticking or pulling the clay. Press the materials in gently but firmly: lace yields delicate impressions, while bark or shells can create bold, organic designs. Play with random patterns or geometric repeats. You can also create freehand patterns using stylus or lino cutting tools too, if you have them. You could also try layering textures: run a fabric imprint across the clay, then carve motifs over it for added depth. Take care not to impress items too deeply. If they go through the clay, you’ll create a hole in your plate.

Top: texture created with a shell; left: brain coral rolled over the clay; square section tube pressed into the clay.
Bake It
Bake according to the clay brand’s instructions. Let it cool on the tile completely after baking to prevent warping.
Use Your Plate!
To use your new texture plate, dust it with cornflour or give it a spritz of water. Condition some more clay and roll it out on a tile. Press the texture plate into it. You can support the plate using the spacer bars so you get an even imprint and the plate doesn’t pierce your clay all the way through. Remove the plate to reveal the textured clay.
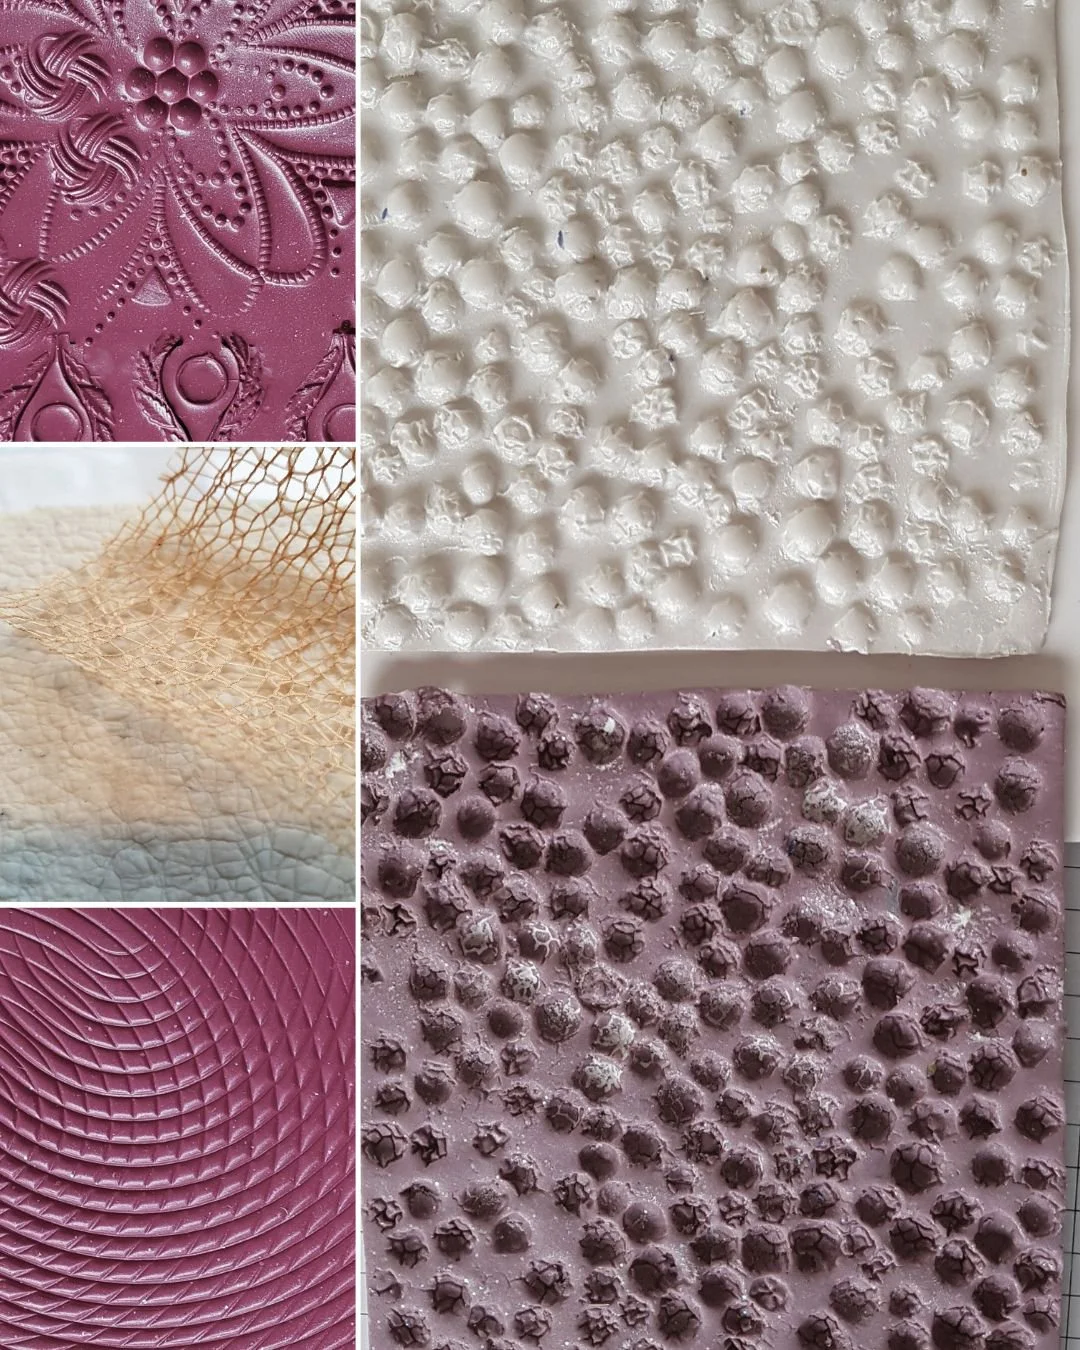
Top left: texture made from the belt buckle and broken jewellery shown in the Tools photo; middle left: texture made from impressing lace in the clay; bottom left: texture created from the scumble tool shown in Tools photo. Right: above, the white clay is the original texture plate made by impressing peppercorns into the clay and below, the textured clay result. The white areas on the mauve clay are cornflour residue which can be dusted off.
Other ideas!
Collect ‘texture’ while you’re out walking: leaves, lichens, pebbles, bark, acorns and seed heads all provide great sources of texture.
Explore your fabric stash: use linen, lace, corduroy and leather fabric scraps as well as cotton thread, cords and other fibres for texture inspiration.
The soles of your shoes - these often have interesting patterns and are equally usable whether they’re brand new of slightly worn so see what there is in the wardrobe!
The tool shed - consider using screw heads and threads, hex nuts and bolts, washers, wire mesh, nylon rope, sandpaper …