
Perfectly Paired: Making Polymer Clay Buttons to Match Your Fabric or Fibre
There’s something deeply satisfying when a handmade button doesn’t just complement a fabric or fibre, but feels like it was born from it. Whether you're finishing a hand-knit cardigan, a sewn garment, or a woven accessory, custom polymer clay buttons offer a tactile, tonal connection that elevates the entire piece.
Here’s how I approach crafting buttons that truly tone with fabric samples, blending colour intuition with hands-on technique.
Step 1: Personality
Before I start making anything, I spend time with the fabric. I look beyond the dominant colour to notice:
- Undertones: Is that “blue” leaning toward grey or purple?
- Texture: Smooth silks call for sleek finishes; nubby wools pair beautifully with matte or textured buttons.
- Mood: Is the fabric playful, rustic, elegant? This guides not just colour but shape and surface design too.
I’ll often note down descriptive words to anchor the palette and help create ‘a brief’ so I focus on the project in hand and don’t go off on a tangent!
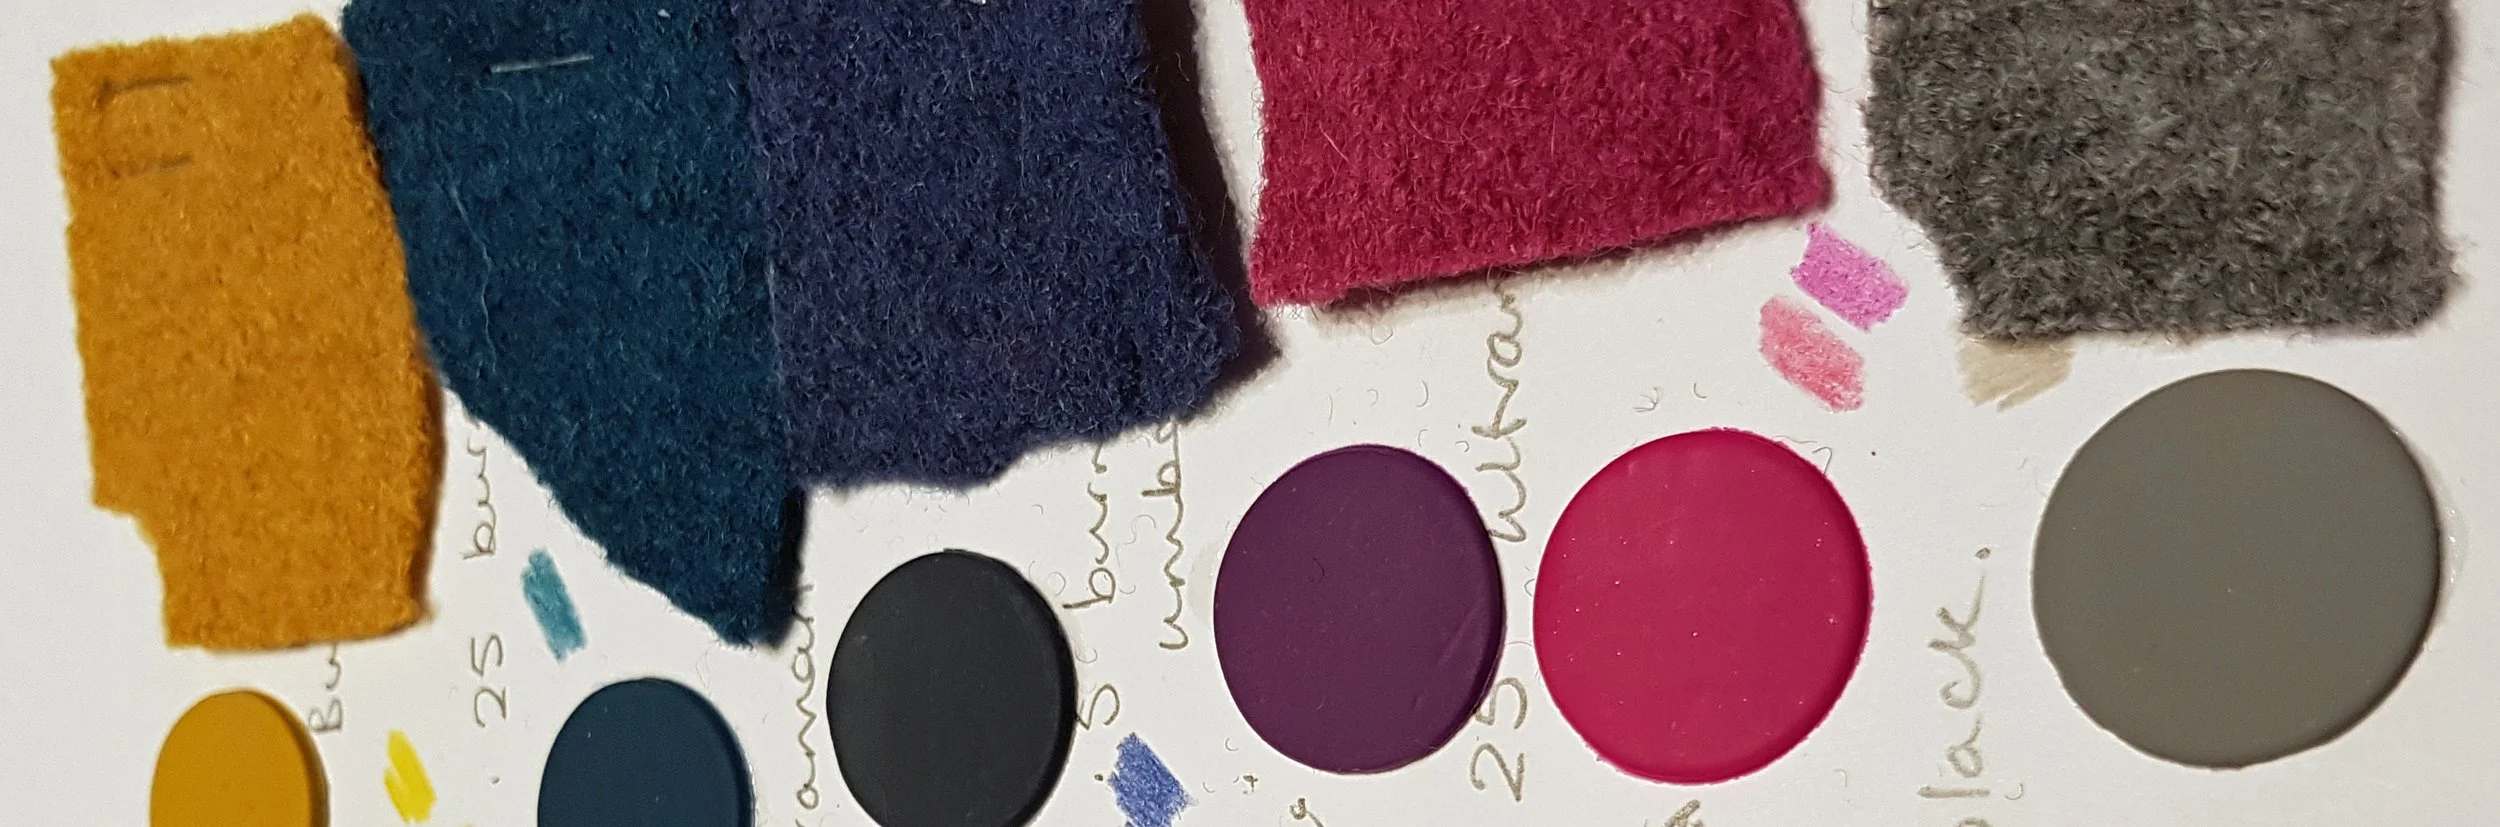
Creating core colours and noting their recipes
Step 2: Mix Clay to Match
Polymer clay is wonderfully blendable. I start with base colours and tweak:
- Add tiny amounts of complementary colours to mute or shift tones.
- Use translucent clay to soften saturation and mimic fabric’s lightness.
- For complex hues (like mushroom taupe or faded denim), I mix in neutral greys or browns to ground the colour.
Tip: Keep a log of your mixes, ratios, brands, and results, especially if you’re matching multiple buttons or planning a collection.
Step 3: Texture & Surface Play
Buttons don’t have to be flat or plain. I love using:
- Texture plates I’ve made from natural materials or hand-carved designs.
- Impression tools to echo fabric motifs, for example leaf veins, stitch-like lines, or geometric repeats.
- Mica powders or chalks to add subtle sheen or depth, especially when mimicking woven threads or aged textiles.

Linear patterns in the button mimic those in the tartan wool
Step 4: Bake & Finish Thoughtfully
Once shaped and textured:
- Bake according to clay brand instructions.
- Sand button edges if needed as the button must feel good in your fingers.
- Preserve surface texture - I rarely sand the surface of my buttons. Imperfections can add interest.
- Seal with a matte or satin varnish if desired but test how wash-proof the button will be with extra surface treatments.
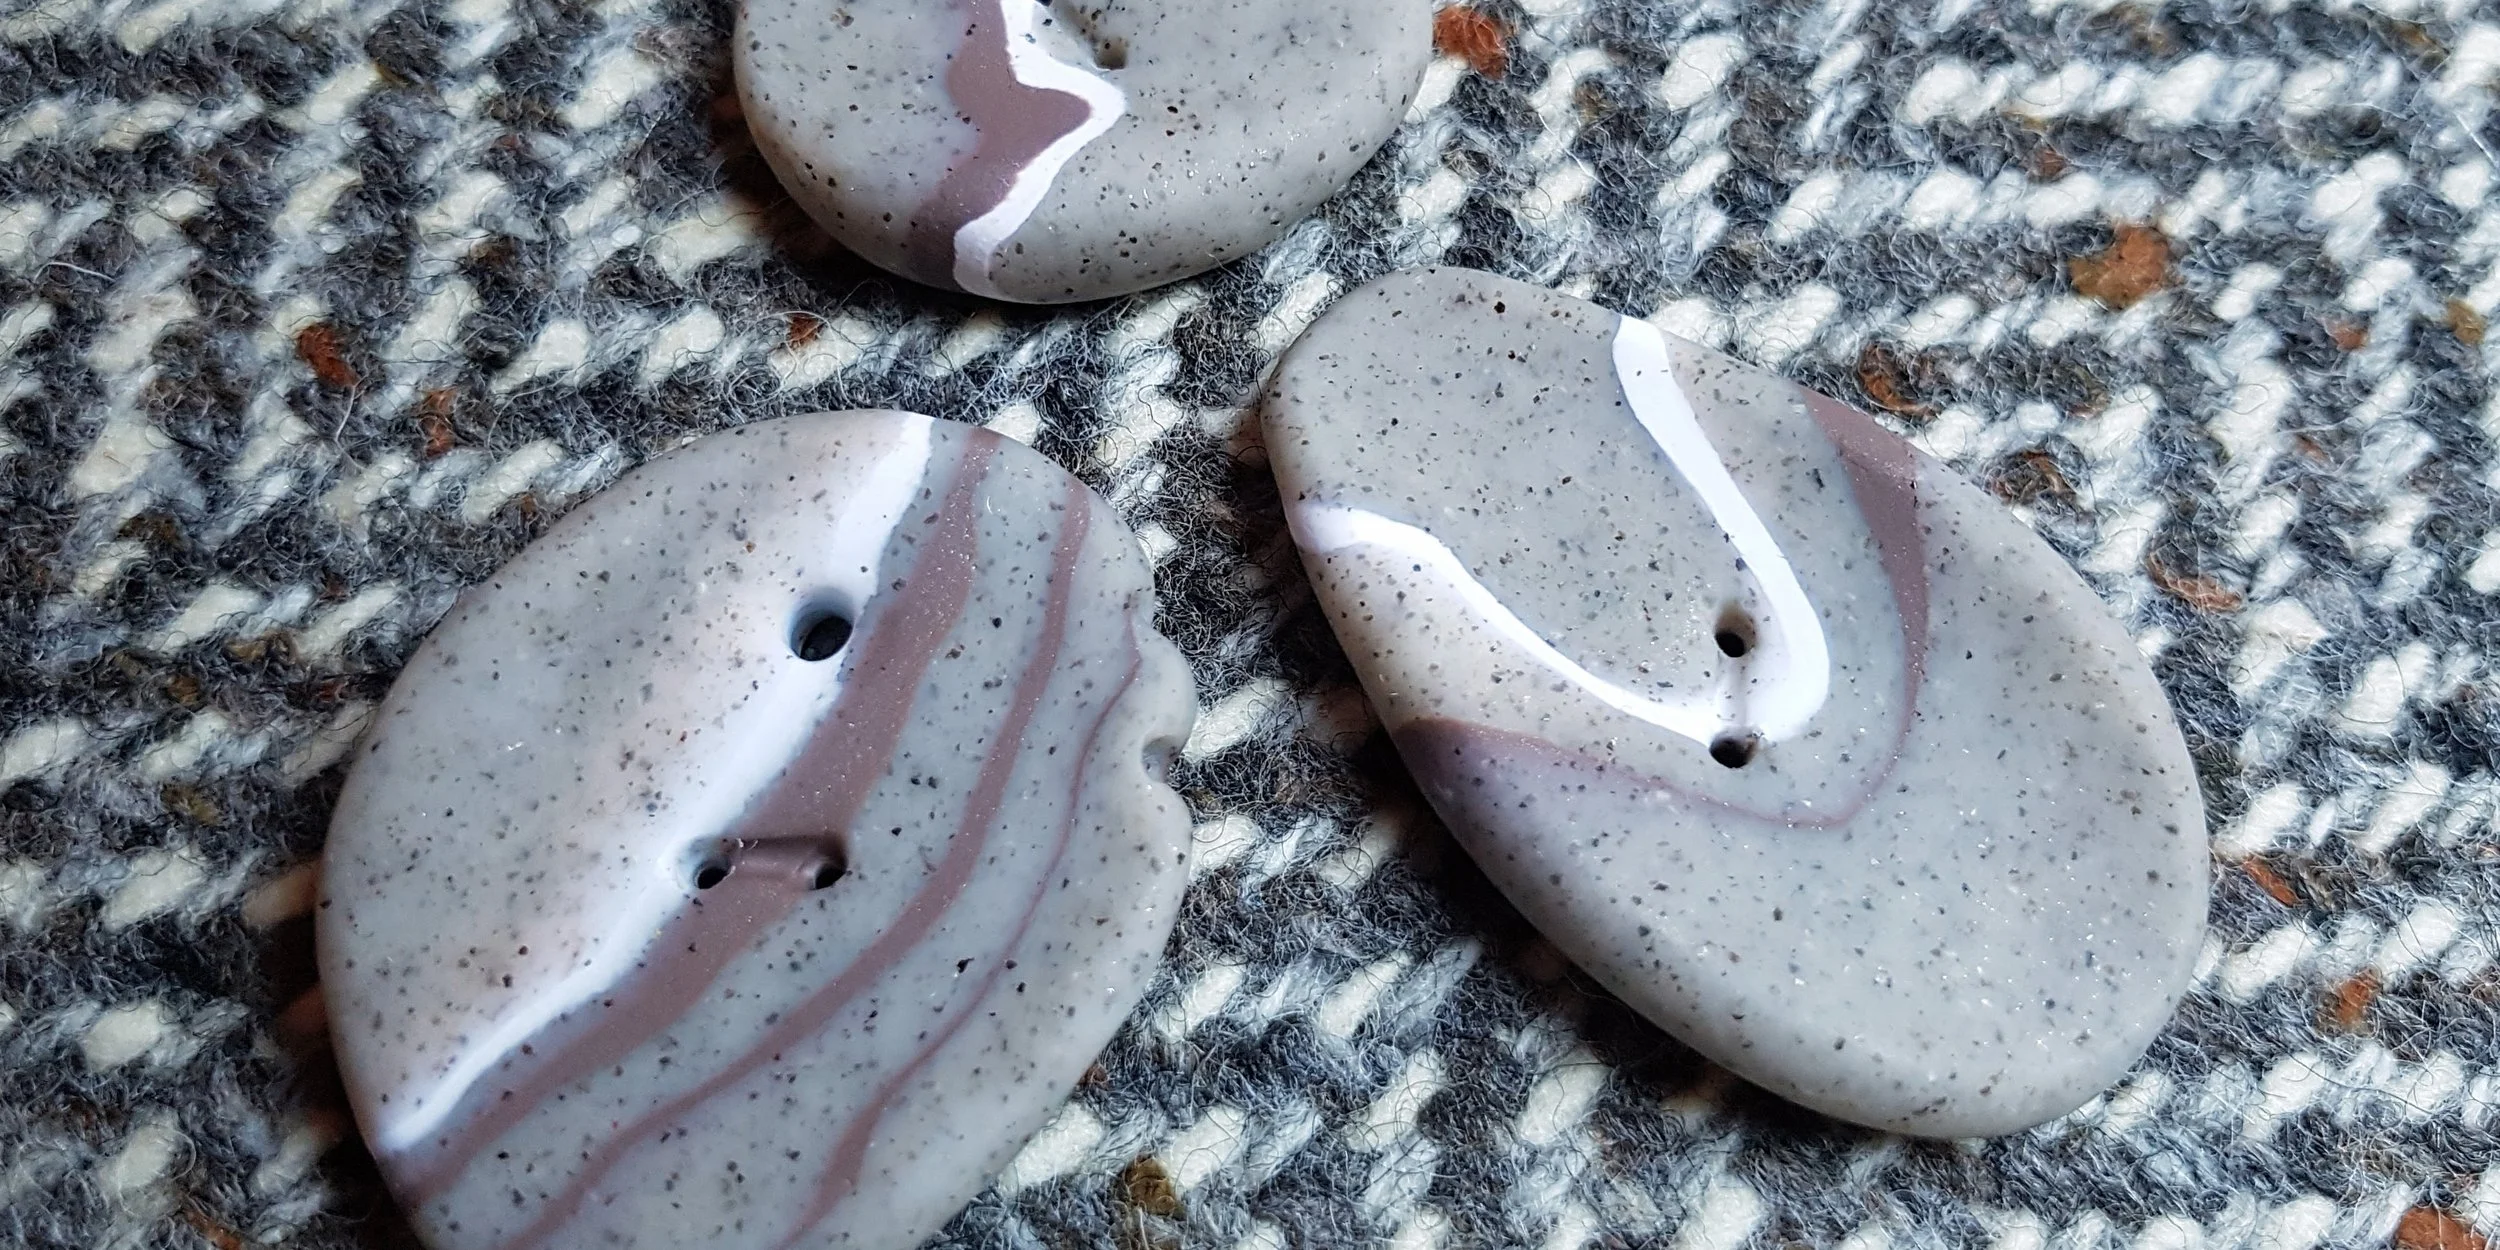
Buttons inspired by cornish pebbles
Step 5: Test the Pairing
I always place the finished button directly on the fabric sample before finalising. Does it sing or clash? Sometimes a button needs a slight colour tweak or a different finish to feel “just right.”
When it works, it’s magic - a small detail that speaks volumes about care, craft, and cohesion.

Layered, patterned buttons capture the colour scheme and texture of this mohair wrap
Final Thoughts
Matching buttons to fabric isn’t just about colour. It’s about storytelling. It’s a way to honour the materials, the maker, and the wearer. Whether you’re crafting for yourself, a client, or a festival display, these tiny pieces can carry big impact and elevate a garment from run of the mill to something truly special.
Have a favourite fabric you’d love to match or a stash you need to use? Bring them to a workshop and let’s play!